This is a followup to my previous post “Blender and World Creator Workflow - Surface” and in this one we’ll be dealing with bringing over the fancy textures you’ve applied to your World Creator 2 project. We’re going to start with a three texture setup, having more textures becomes much harder to model with this method and is left as an exercise to the reader.
World Creator
- Add some dope textures to your world!
- Go to Export in the top-right corner, go to the Textures tab and set the following settings:
- Select Type: Splat Map.
- Make sure your three textures have “Include:” checked.
- Export and save
splatmap.tgain the folder for your render.
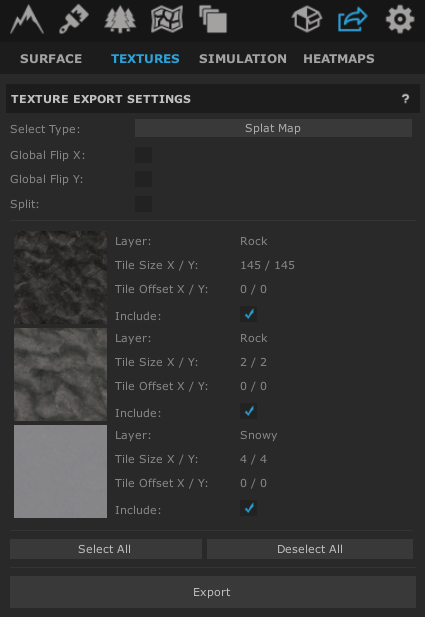
Image Editing Program
If you don’t have the ability to export ultra high resolution Splat Maps from World Creator 2 because like me you’re on the Basic version, you can do the following:
- Open up
splatmap.tgain your preferred image editing program. - Scale the image size up by 2-4 on both width and height, preferably with a built-in algorithm to avoid hard pixellated edges.
- Save the new file as
splatmap-large.tgain the folder for your render.
This should reduce the appearance of jaggy/blurry artifacts on your textured terrain close up, but won’t be perfect.
File System
- Copy all your textures into the folder for your render.
Blender
- Select the plane containing your terrain that we set up in the last post.
- Open up the
Shader Editorpanel in Blender. - Create a new material consisting of:
- A
Principled BSDFnode with the BSDF output attached to; - A
Material Outputnode’s Surface.
- Create an
Addnode. This is found under Add -> Color ->MixRGB-> Set to “Add” type and plug the output into the Base Color of thePrincipled BSDFnode. - Another
Addnode, with the output into Color1 of the firstAddnode from #4.
- Set the Color1 property of this new
Addnode to black, with a HSVA of 0, 0, 0, 1.
- A
Darkennode (Add -> Color ->MixRGB-> Set to “Darken”) plugged into Color2 of theAddnode from #4. - An
Addnode into Color1 of theDarkenfrom #6.
- Set the Color1 property of this new
Addnode to black, with a HSVA of 0, 0, 0, 1.
- An
Addnode into Color2 of theDarkenfrom #6.
- Set the Color1 property of this new
Addnode to black, with a HSVA of 0, 0, 0, 1.
- Create three
Image Texturenodes (Add -> Texture ->Image Texture).
- Align each
Image Texturenode with one of theAddnodes from steps #5, #7, and #8. - Set the Image property to the image for one of the textures you want to use (using the Open button).
- Use the Color output from the
Image Textureto link to the Color2 dot on the respectiveAddnode.
- Create a
Separate RGBnode (Add -> Converter ->Separate RGB). - Add an
RGB Curvesnode (Add -> Color ->RGB Curves) and plug the Color output into the Image input on theSeparate RGBnode from #10. - Create an
Image Texturenode.
- Set the Image property to be your
splatmap-large.tga. - Set the Color Space as
Non-Color. - Link the Color output to the Color input on the
RGB Curvesnode from #11.
- From the
Separate RGBnode (from #10), link each of the R, G, and B outputs to theFacproperties of the threeAddnodes (from #5, #7, and #8)
- This will require you to manually investigate which texture refers to which colour in your
splatmap-large.tgafile.
Once you’ve aligned the right colours, you should be ready to render. Of course, if you don’t have textures that are perfectly suited to the environment, you might want to do create a Texture Coordinate node (Add -> Input -> Texture Coordinate) that plugs from the UV output into the Vector input on some Mapping (Add -> Vector -> Mapping) nodes which plug each Vector output into the Vector input on the three Image Texture nodes (from #9). You can then modifey the Scale property on the Mapping nodes to represent the tiled nature of your texture.
You should end up with a completed node graph like below (click to open a larger view):

If you want, you can also add normal or displacement graphs by expanding upon the technique outlined above. This should allow you to create images like this (click to open a larger view):
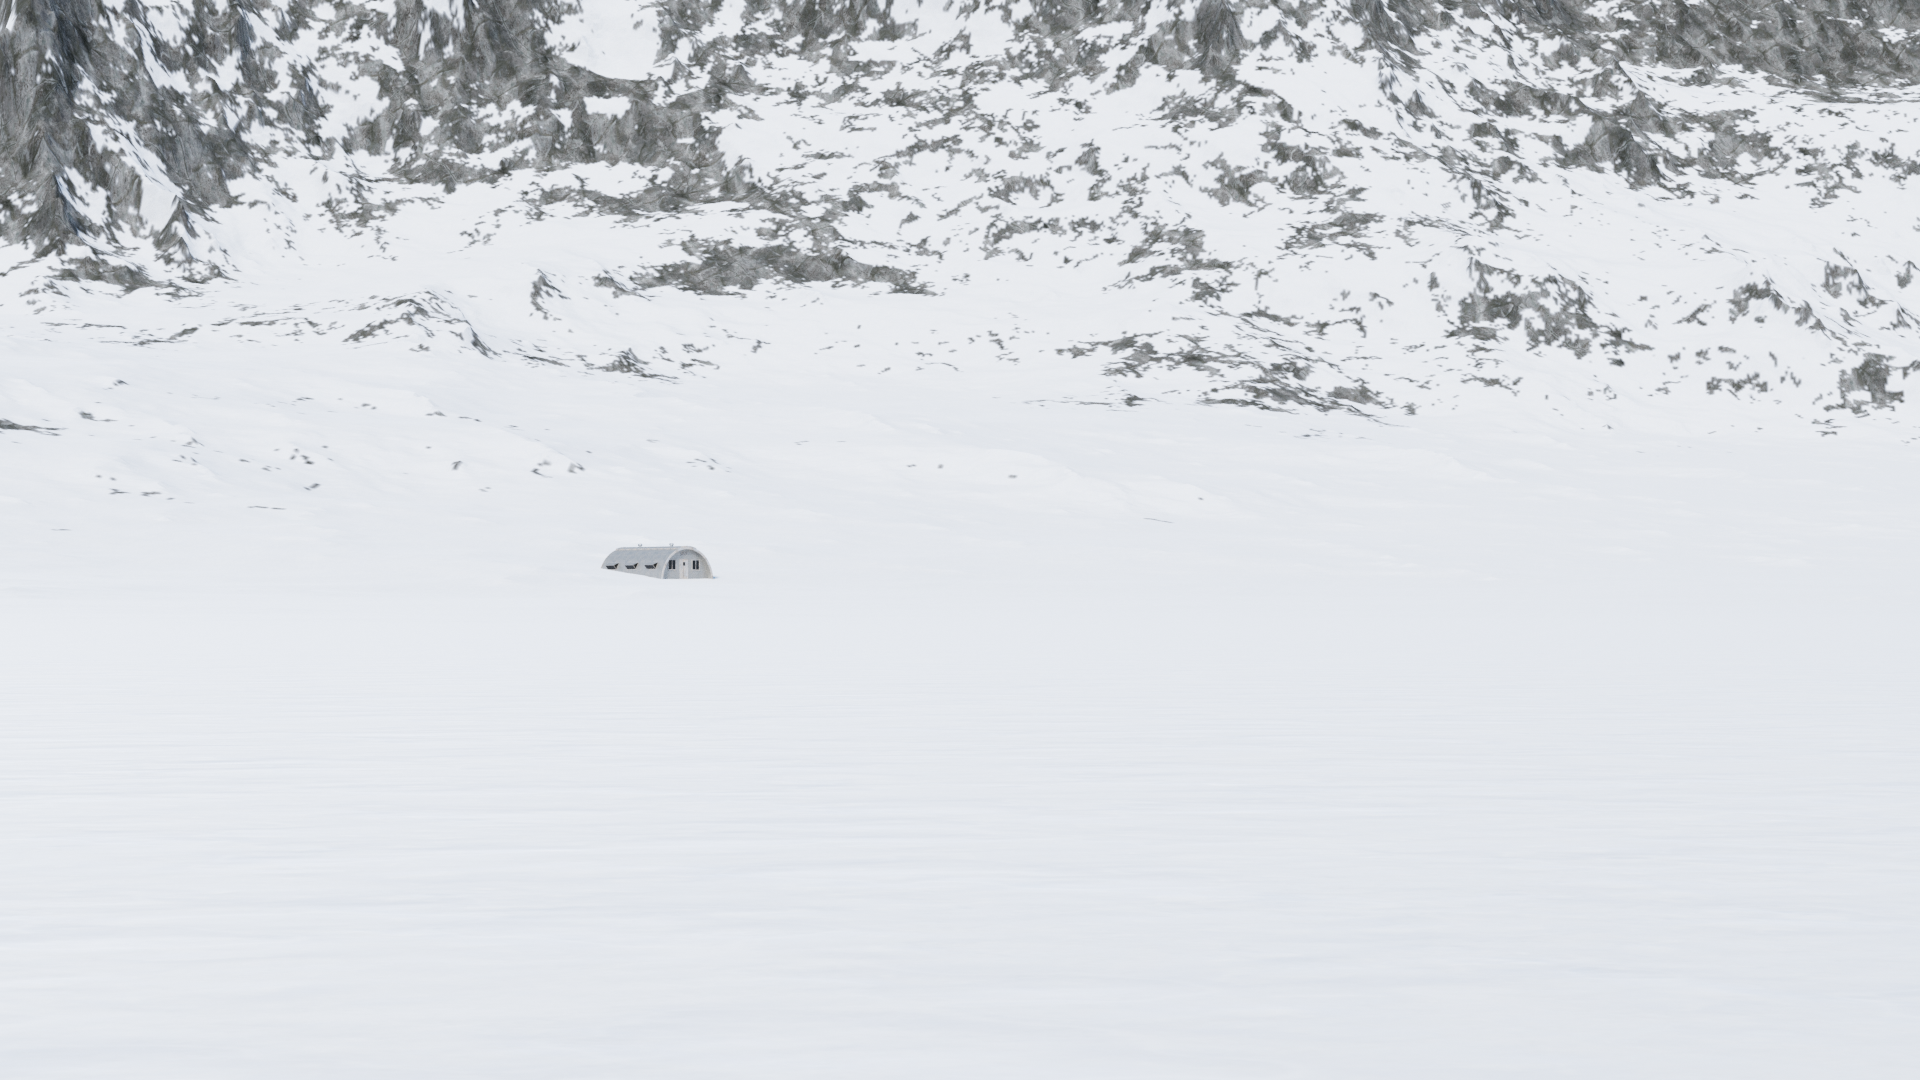
Keep in mind, the above is some of my older work before I’d perfected the technique, so still retains some low resolution artifacts.
I’m still working on techniques to improve it and will add any updates as I develop new techniques.